
Do you like light vegetable salads? So you will definitely like the recipe for vinaigrette with Korean carrots. The dish is simple and very tasty, but what I like most about it is that the sharpness can be adjusted by adding different carrots.
Ingredients
Step-by-step cooking recipe
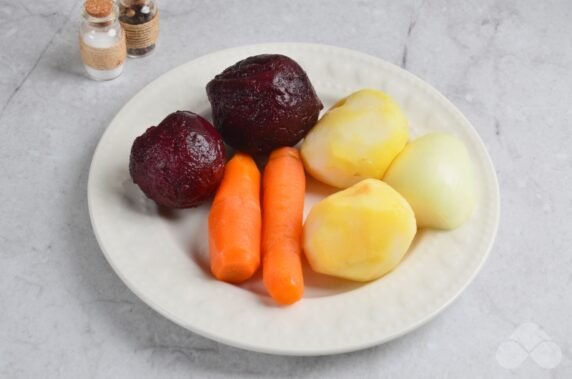
Peel boiled potatoes, beets and carrots. Remove the husk from the onion.
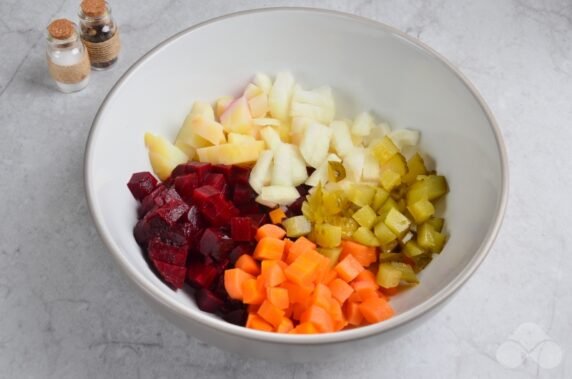
Cut cucumbers, onions and boiled vegetables into small cubes. Put everything in a deep bowl.
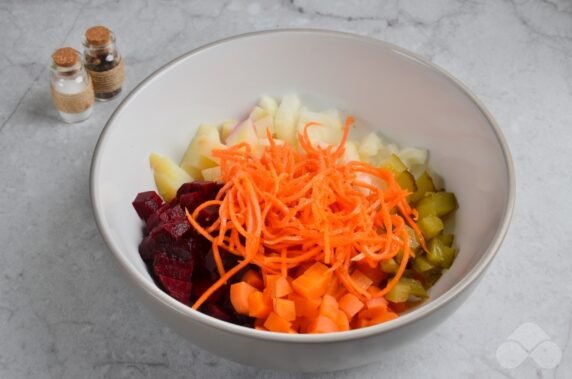
Add salt, vegetable oil and Korean carrots.
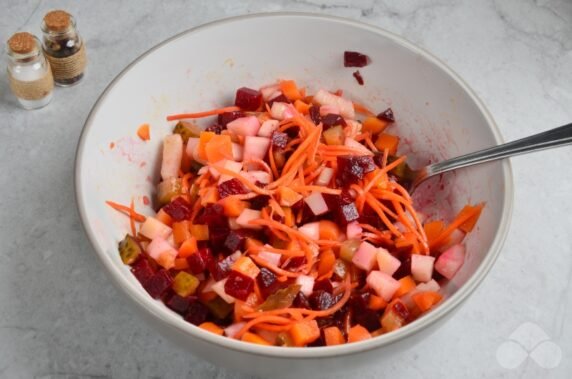
Gently mix the salad with a spoon.
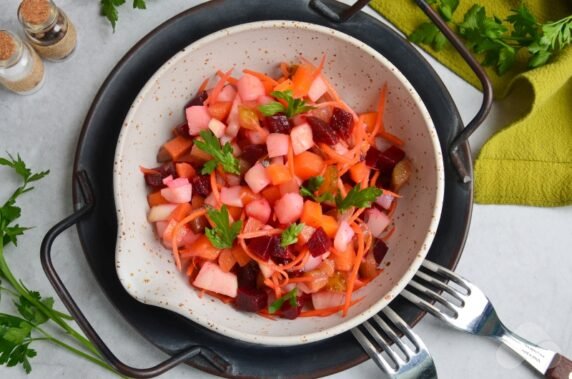
Put the finished vinaigrette on a nice plate, you can additionally decorate it with fresh parsley.
Did you like the recipe?
0 comments
