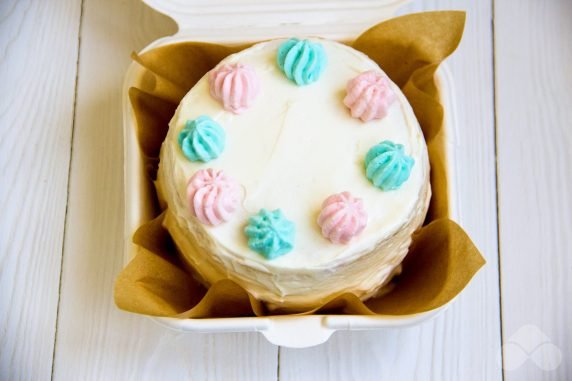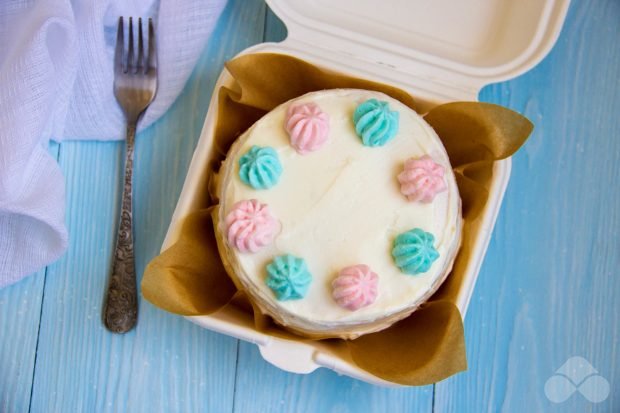
This trendy mini cake came to us from South Korea. It does not claim to be the main delicacy of the feast, but its peculiarity is in the format of submission. If you have never baked a bento cake, it's time to try it!
Ingredients
- Flour - 120 g
- Chicken eggs - 2 pcs.
- Condensed milk - 300 g
- Baking powder dough - 5 g
- Cottage cheese - 300 g
- Cream (33%) – 150 ml
- Powdered sugar - 50 g
- Food Coloring - optional
- Fruit (any) – optional
Step-by-step cooking recipe
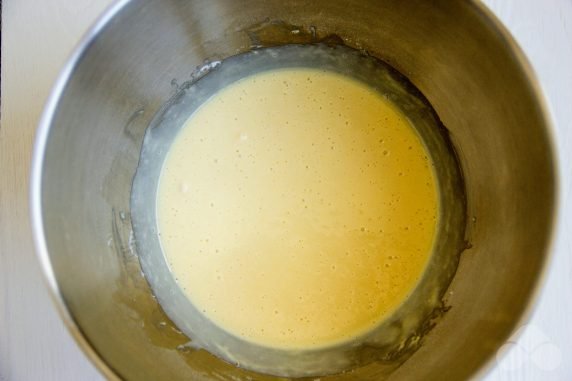
Combine condensed milk with eggs in a bowl, add sifted flour and baking powder. Beat with a mixer until smooth. You should get a thick dough.
Pour the dough onto a baking sheet lined with parchment and bake in a preheated 180°C oven for 10-15 minutes. Cool it down a little.
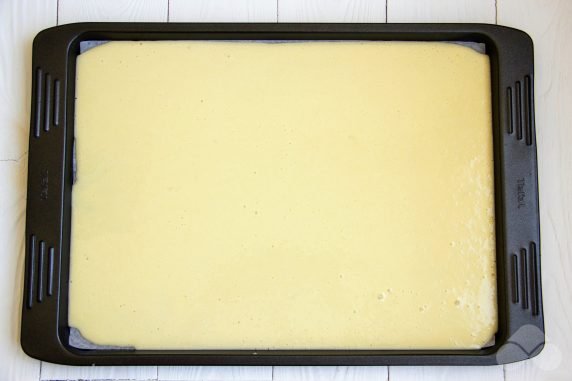
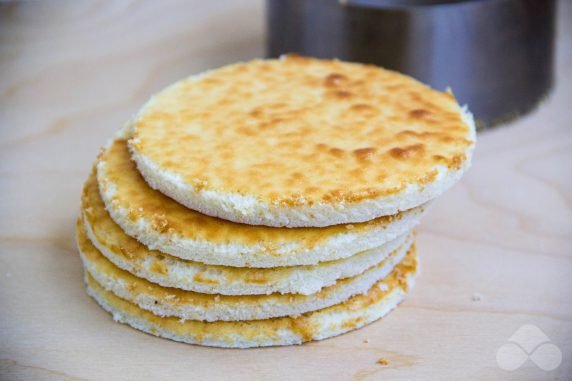
While the cake has not completely cooled down, cut out the cakes with a diameter of 10-12 cm using a mold (or a suitable plate size). You should get 5 small cakes.
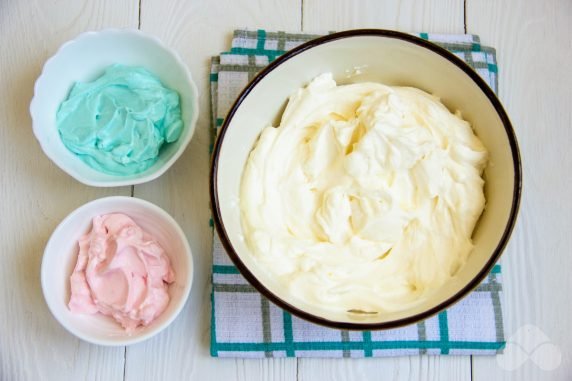
While the cake is baking, prepare the filling. To do this, beat the curd cheese, cream and powdered sugar with a mixer. You should get a lush cream. You can separate a small part of the cream and add food coloring to it (optional). Colored cream will be used for decoration.
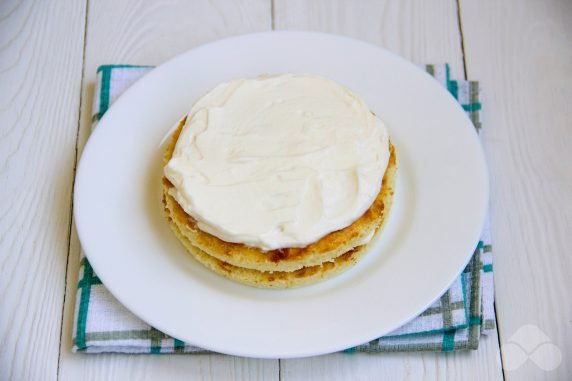
Assemble the cake: place the cake on a plate or a special stand, cover it with cream, then again the cake, cream, etc.
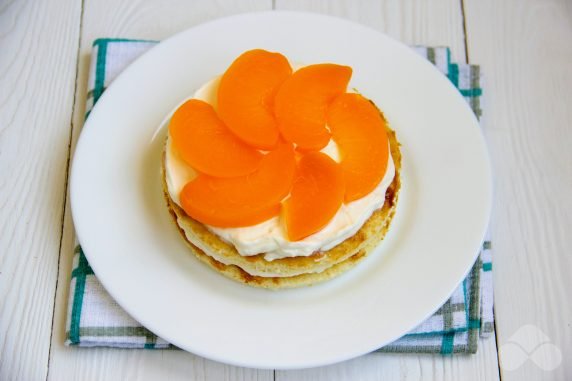
If desired, lay the middle layers of the cream with any sliced fruits (it can be kiwis, oranges, strawberries).
Cover the assembled cake with cream, smooth it with a silicone spatula, decorate with colored cream at your discretion.
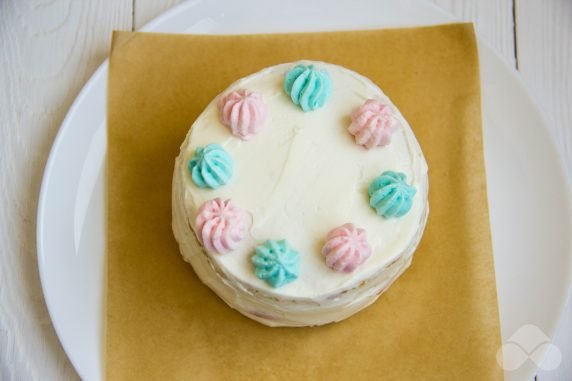
Pack your first bento cake in a special box or lunch box and give it with love (with or without reason) to someone who deserves it!
