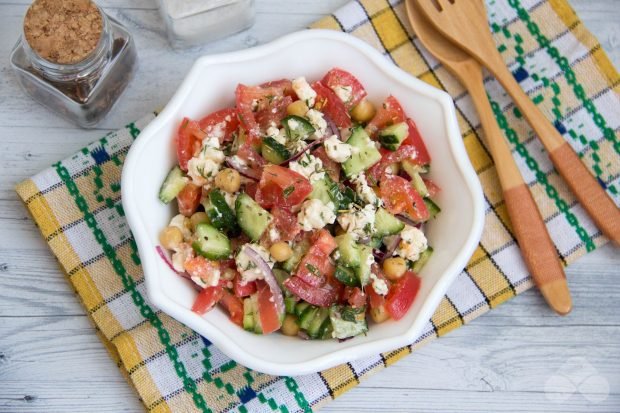
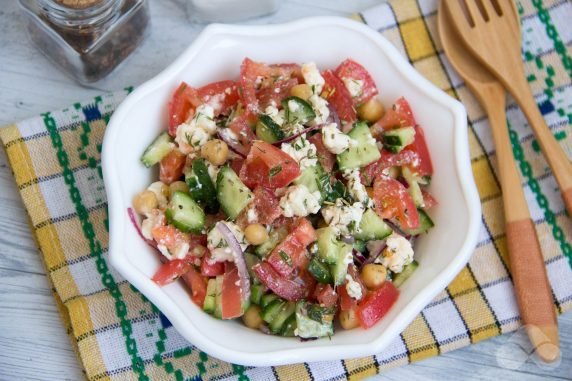
This vegetable salad with chickpeas is light and fresh, but at the same time very satisfying. To make the chickpeas boil better and faster, soak it overnight in cold water. Otherwise, the recipe does not cause any trouble.
Ingredients
- Cucumbers - 1 piece
- Tomatoes - 1 piece
- Bow purple - 1 piece
- Greenery - 0,5 bundles
- Chickpeas - 70 g
- Feta - 70 g
- Provencal herbs - 1 tsp.
- Salt - 0,5 tsp.
- Lemon juice - 1 tsp.
- Olive oil - 1 tbsp.l.
Step-by-step cooking recipe
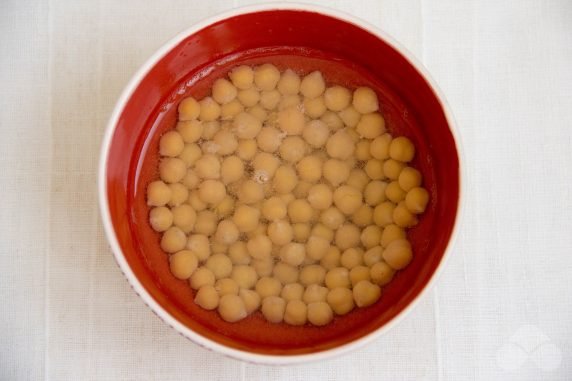
Boil the chickpeas until tender for about an hour on average. Let it cool under cold water.
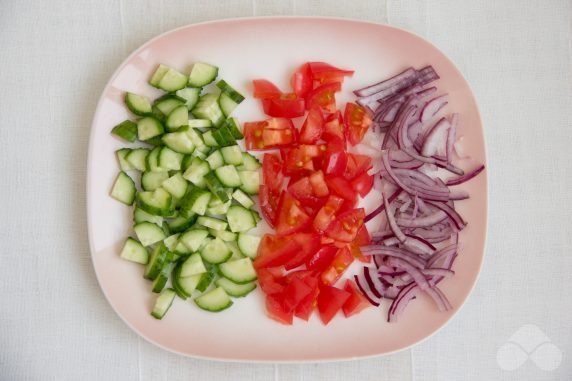
Cut the cucumber and tomato into medium–sized pieces, and the onion into feathers.
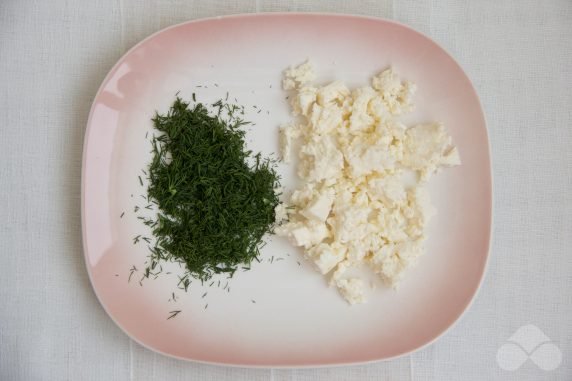
Finely chop the greens and mash the feta with a fork.
Mix oil, salt, herbs of Provence and lemon juice, and season the salad.
Did you like the recipe?
0 comments
